Hey there! 👋🏻 This Mailtastic user how-to will help you find your way through our platform. It’ll also help you keep tabs on your banner campaigns and set you up for email signature success! Without further ado, let’s dive in 🏊🏼♀️
What we'll be covering...
- Dashboard
- Company info
- Data profiles
- Signatures
- Campaigns & Events
- Notifications
- Performance Feed
- Accounts
- Leads
- Integrations
- News
- Settings
Dashboard
When you log in to Mailtastic, the first thing you see is the dashboard.
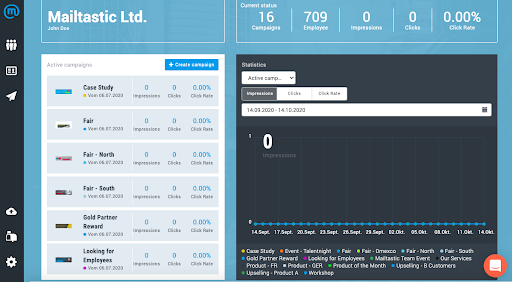
Depending on the plan you have, you’ll see different information. So in the Basic Plan, you’ll see settings you can alter. In Advanced and Target you’ll see campaign banner analytics. This includes impressions, click-through rate and clicks, allowing you to monitor the performance of your campaigns.
Company info
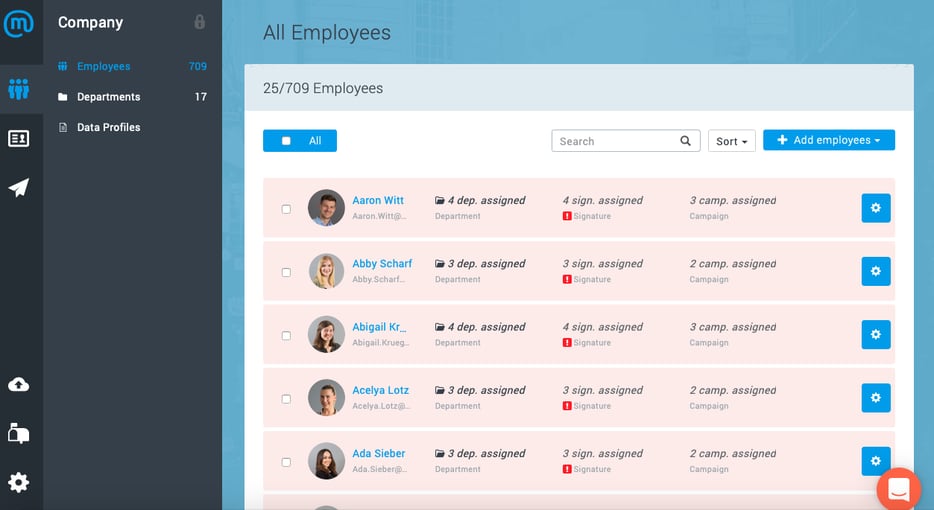
On the left-hand side, you can see the toolbar. The Company icon has a dropdown menu which gives you company data. This includes employee and department information as well as data profiles. In Employees, you’ll see data like the above. ⬆️ Here you can add a new employee, edit the user data and assign an employee to a department.
Data profiles
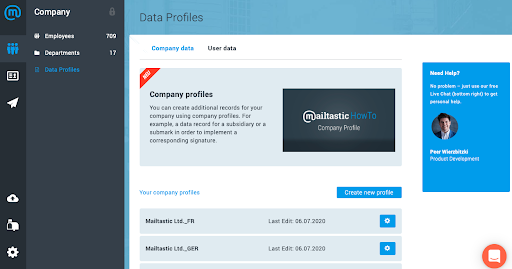
In Data Profiles, we can see company & user data. You can create as many profiles as you like. For example, if you have a UK team, a USA team and a German team, these separate profiles will be added in the company data section.
Signatures
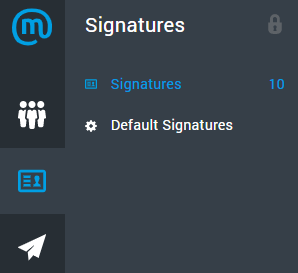
The second icon from the top allows you to look at signatures. In the Signatures tab, you can choose from Signatures and Default Signatures.
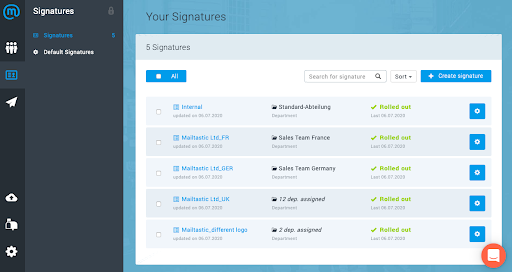
In Signatures, you can see the signatures you use. You can also create new ones and modify existing signatures.
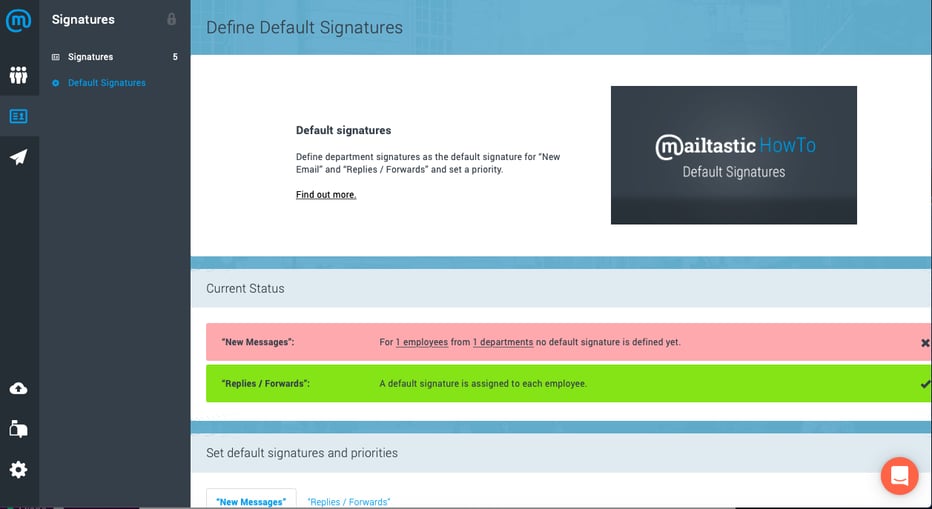
In the “Default Signatures” section, you can set the signatures you want to display by default in your email app. You can also do the same for new messages as well as replies and forwards. Departments at the top of the list are preferred to the ones below. This can be altered at any time.
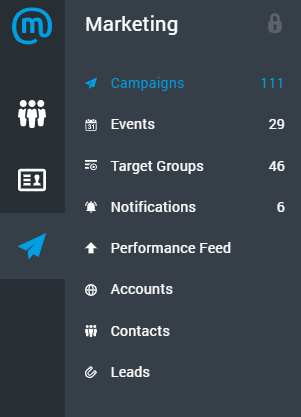
The third icon shows you marketing features. You’ll only see Marketing if you have either an Advanced or a Target plan.
Campaigns & Events
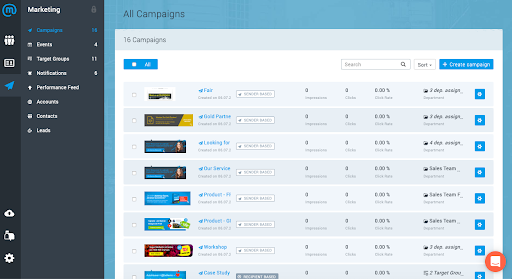
In the Campaigns section, you can create as many campaigns as you want.
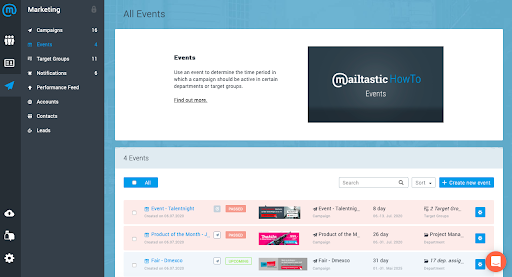
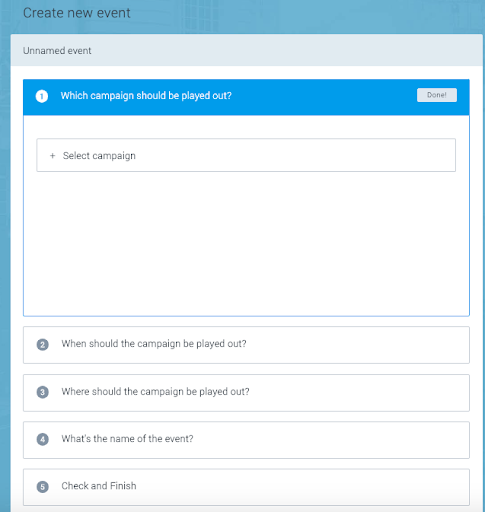
If you want to create a campaign for a certain time period, select Events. This event campaign will then overwrite the default signature for the time specified. Then it’ll be automatically removed once the event has passed.
The Target plan also offers you the chance to create recipient-based campaigns. Meanwhile, the Target Groups tab allows you to create target groups of multiple accounts or domains.
Notifications
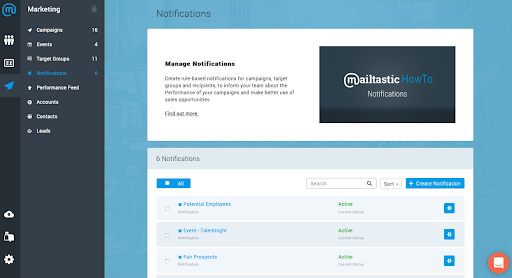
You can also set up notifications to see when one of your Target Group clicks on a campaign banner.
Performance Feed
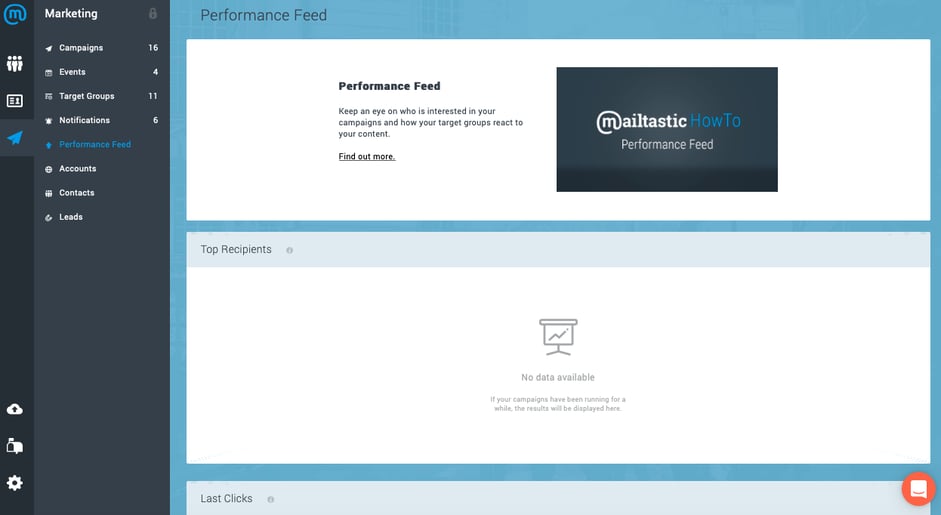
In the Performance Feed, you can see the analytics for your recipient-based campaigns.
Accounts
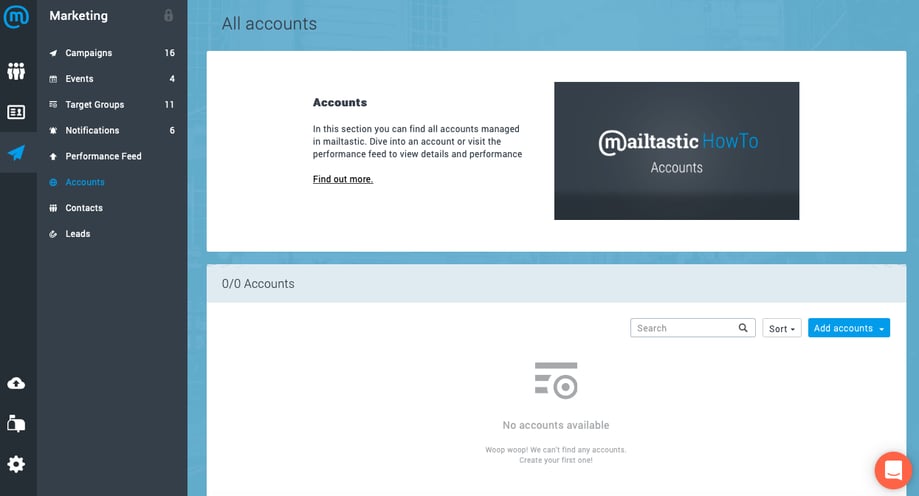
In Accounts, you’ll see a list of all the domains you’ve divided into your Target Groups.
Leads
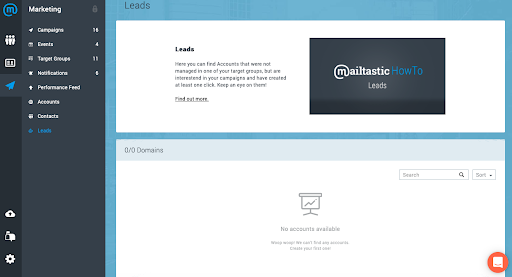
In Leads, you’ll see the domains that have clicked on your banners but haven’t been assigned to a Target Group yet.
Integrations
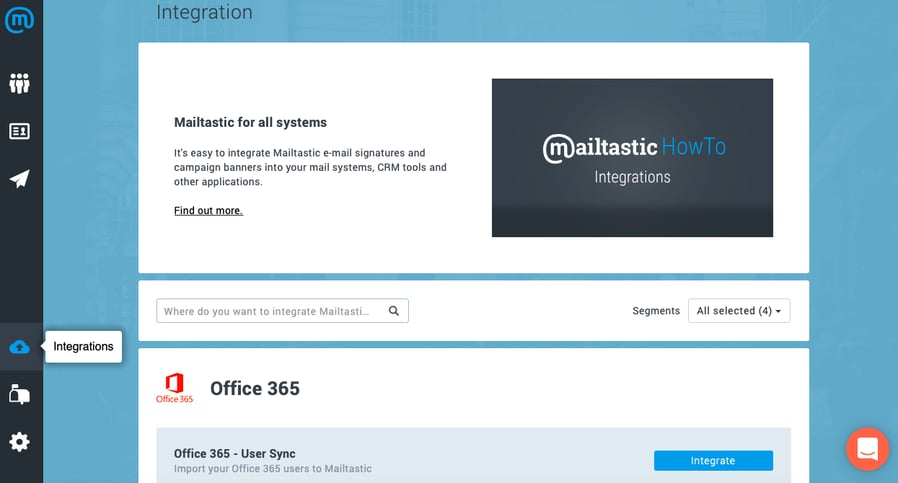
At the bottom of the navigation bar, you can adjust your integrations in the Integration section.
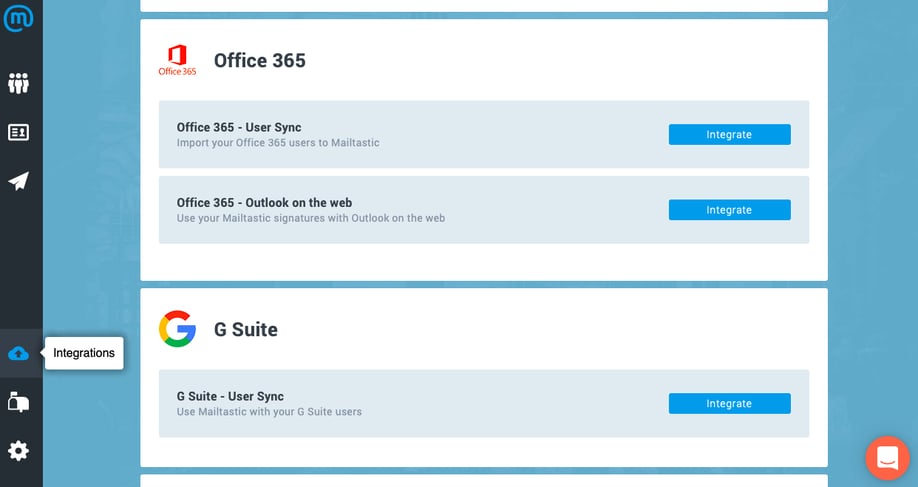
Here you can auto-sync your Office 365 Active Directory, G Suite Directory & many more.
News
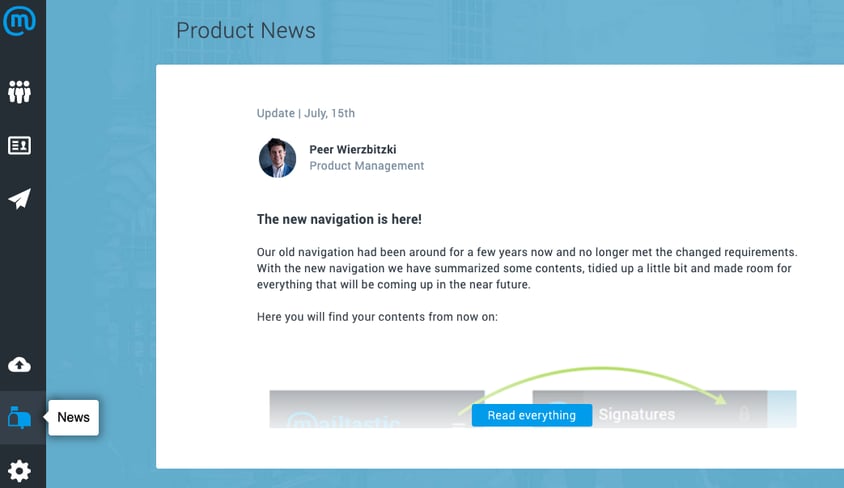
In the News section, you’ll find the latest product news and updates.
Settings
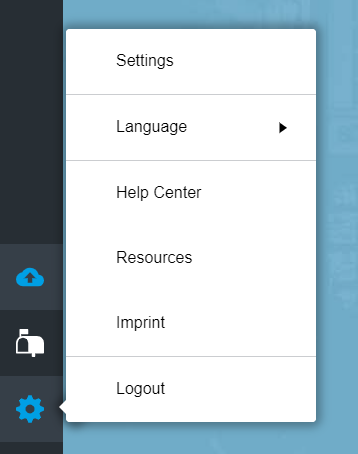
At the very bottom of the navigation bar, you’ll see further options and settings. Here you can change language (“Language”), find helpful how-to articles (“Help Center”), download documents that help you build campaign banners (“Resources”) & much more.
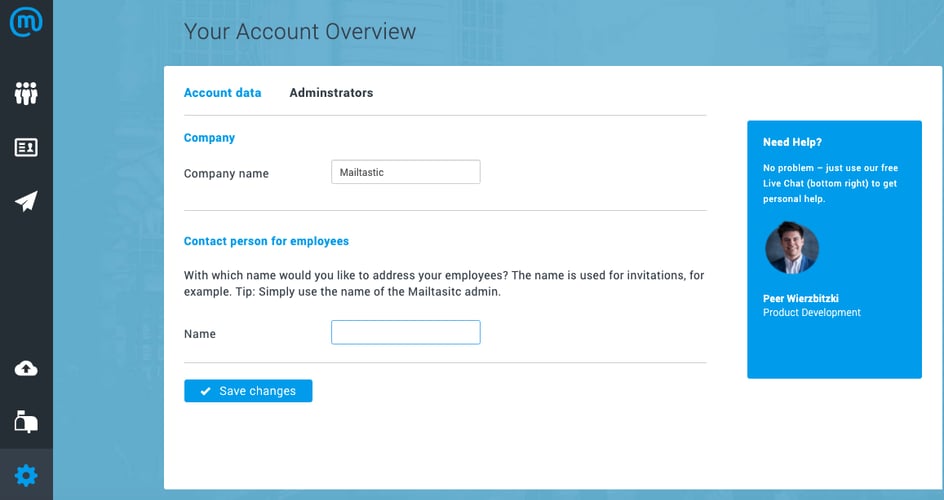
In Settings, you’ll find an overview of your account.
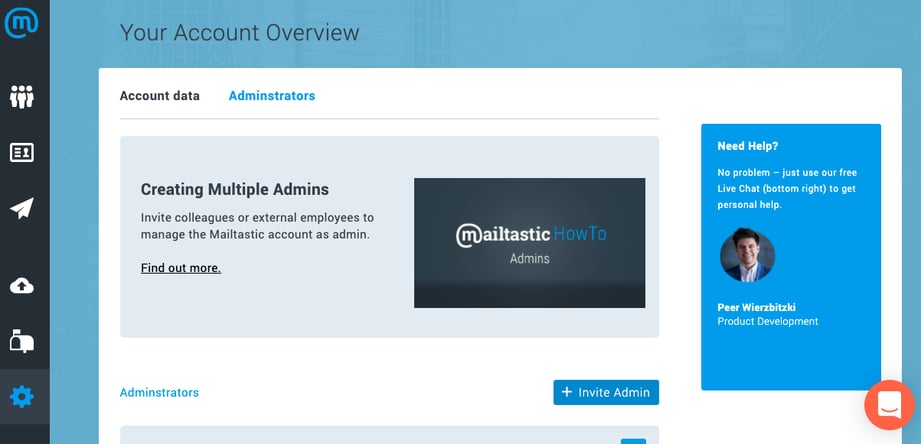
When you click on “Administrators”, you can invite people to create their own log in.
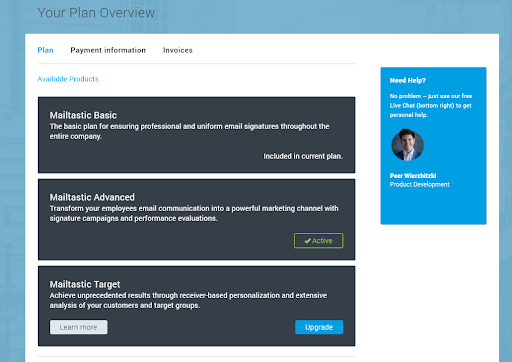
You’ll also find info about your plan & billing.
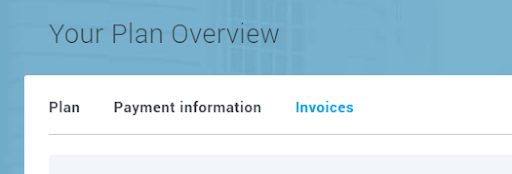
If you need to download your invoices, you can do that here.
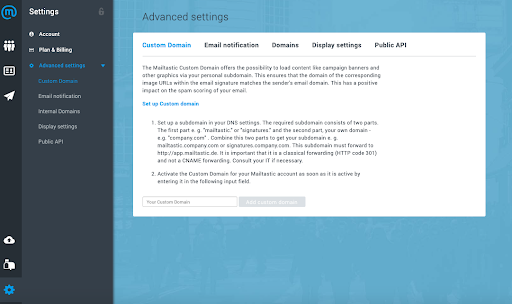
In Advanced Settings, you also have a number of further options to alter your account.
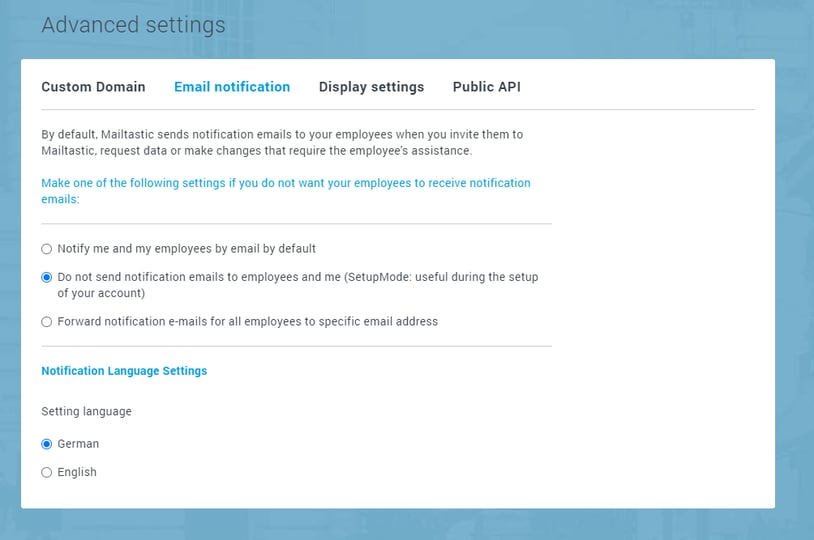
We advise you to always activate the set up mode "Do not send notification emails". That means your employees won't get emails every time you make changes to your signatures.
When you want to inform your employees to activate their signature, you’ll need to turn on the set up mode "Notify me and my employees by email by default". Afterwards, just switch back to “Do not send notification emails”.
Need more help? Contact our Customer Success team
No account yet?

.png)